Protein Balls Recipe
Hello Everyone!
I know recipe preambles are usually 10 times longer than the actual recipe. So I’m going to try and make this one pretty short.
Before quarantine started about 100 years ago (or maybe a little less), my life was becoming increasingly hectic. I barely found time to do homework, let alone make and eat breakfast every morning. Instead, I often found myself turning to snacky or preprepared items that I could eat on the go. One of these forms of nourishment was Protein Balls. They’re mostly a mix of peanut butter, protein powder, oats, and honey. I found myself turning to them more and more every morning. I could eat them while getting ready for school, and paired with a piece of fruit they’re enough to get me to lunch without feeling famished. Plus there is the fact that I think they taste amazing.
The original reason I began making and eating Protein Balls was for extra sustenance before or after working out. So, they are not really meant to be eaten for a midday snack. Protein Balls should be used as more quick energy than all day. That is why they should be paired with fruit or yogurt in the morning.
Have fun!
*Disclaimer* Though I have made some additions, this recipe originated from a parental friend.
Ingredients:
1 cup oats
1/2 cup flax seeds
1/2 cup protein powder (preferably chocolate)
1/2 cup chocolate chips
1/2 cup peanut butter
1/3 cup honey
1 teaspoon vanilla extract
Step 1: Wash Your Hands!!!! The most vital part of any cooking or food interaction (especially in these times) is to wash your hands!
Step 2: Collect all of the ingredients you need for this cooking activity, and put them together on the counter.
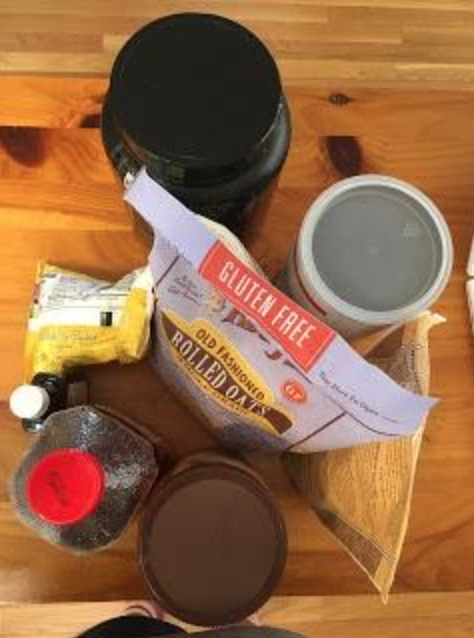
Now, wait for further instructions on the quantity of each thing you need to use (for me, the instructions come from my mother, but for you, they will probably come from the information down below).
Step 3: It’s time to grab a large(ish) bowl to begin mixing all of your ingredients together. This is also the time for some vital decision making. If you’d like to have a nice and easy experience in the kitchen, then I would advise starting with your dry ingredients. However, if you enjoy cowering in the corner whilst peanut butter drips off the wall because you threw your measuring cup so hard it broke, then, by all means, begin mixing your wet ingredients first.
I like to begin with the core of this mixture (the oats), then the flaxseeds and protein powder, but with the dry ingredients it doesn’t matter much. After you’re done with all of the boring dry ingredients, it’s time to bring in the big guns… that’s right you guessed it, the chocolate chips!! I know the recipe calls for 1/2 a cup of these little beautes, but if you happen to be feeling some extra cocoa love, there would be no judgment from me for an extra handful of chips thrown in.
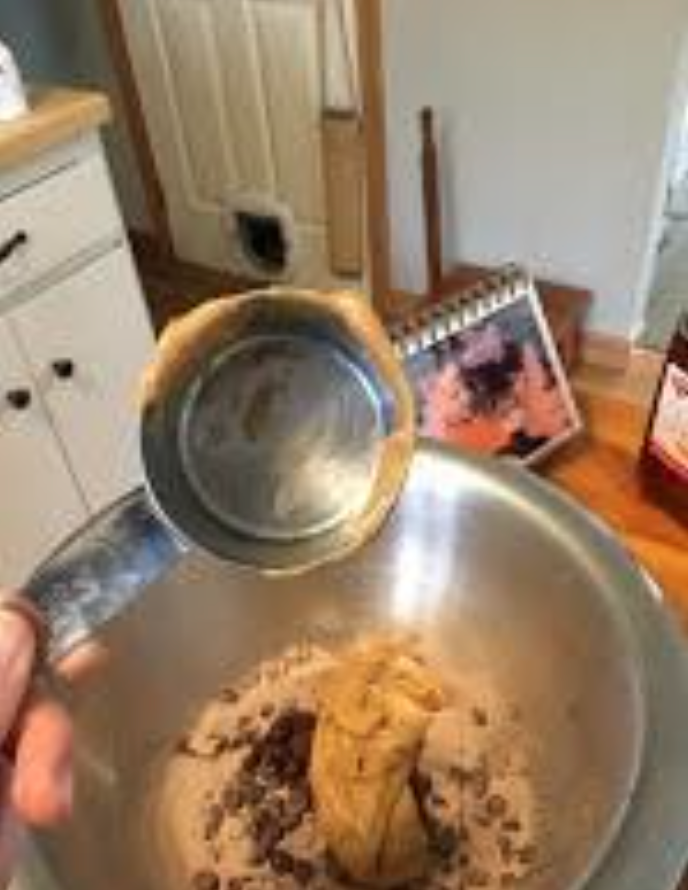
Next is the battle of wet. First, I like to put in the vanilla, because it is by far the least conflicting wet ingredient. The next two, however, happen to be the co-founders of the struggle club. I tend to attempt to get the peanut butter out of the container and into the mixture first, and then the honey. The one piece of advice that I can give you that might lessen your peanut butter related hair loss, is to coat your measuring cup in a film of water or cooking spray before diving into that gooey mess of a spread.
The water tends to repel the stickiness of peanut butter, therefore making it easier to get out of the measuring cup and into the mixing bowl.
Finally is the curse of the honey. I have no helping tricks for this one. The best thing you can do is close your eyes and try to imagine the tastiness of the finished project, and plow through the tedious task of getting the honey from the container to the measuring cup to the bowl.
Remember, this is a recipe that is yearning to be adjusted. Feel free to add your own personal touch, such as coconut shavings.
Step 4: Finally! We are done with the pain and onto the play. To the mixing! You’ve got another decision to make, but don’t worry both choices in this one will not lead to peanut butter on the wall… I hope (if they do then you may be doing something wrong). One of the possible paths is the mom’s way, and one is the daughter’s. Let’s see if you can match the person to the path. Choice 1: Mix everything together with a utensil such as a spatula or wooden spoon or Choice 2: Dive right in with both hands and give this mixture everything you’ve got!
That’s right, the hands-on path is the daughter’s choice, and obviously, way more fun!
The end product of whichever mixing strategy should be one big, clumped up ball.
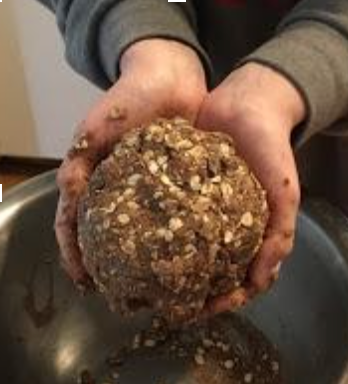
If it’s super crumbly and you can’t get it into one big clump, then I would suggest trying to add more of the wet ingredients of peanut butter or honey.
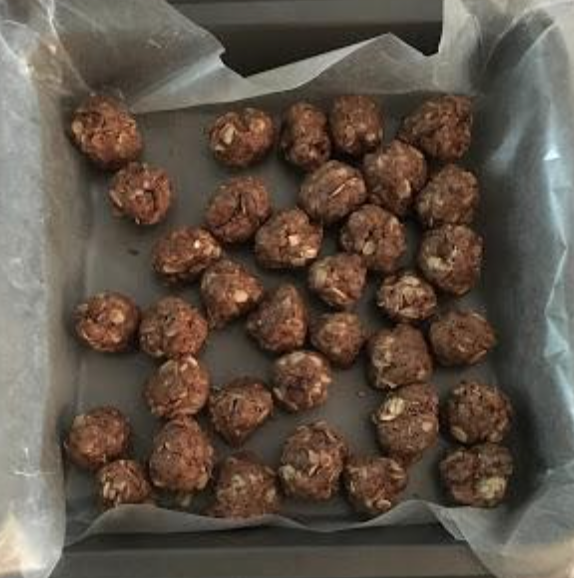
Step 5: This step is probably tied with the mixing for my favorite step. It’s time for the mini ball making. The balls should be in between a teaspoon and tablespoon in size, depending on personal preference. If you are like my mother, then more on the teaspoon side. If you are more like me, you will enjoy it more on the tablespoon side, because you like more bang for your buck.
Making the balls is not a task that involves a ton of focus, so other things can be done simultaneously. Examples of this can include hanging out with family or friends at the dinner table, or my personal favorite of watching Gilmore Girls and singing along to the theme song so loud my mother’s eardrums threaten to explode.
The end product should look a little something like this…